A Practical Guide To A Useful Kitchen Drawer Reset Without Buying Unnecessary Organisers
A practical step-by-step guide to a practical guide to a useful kitchen drawer reset without buying unnecessary organisers, including preparation, instructions, common issues, tips, and next steps.
A Practical Guide To A Useful Kitchen Drawer Reset Without Buying Unnecessary Organisers
This guide provides a practical, budget-friendly method to declutter and reorganize a kitchen drawer without purchasing expensive organizers. It focuses on assessing what you truly need, using everyday items like boxes and trays you already own, and implementing a system that is easy to maintain. The approach emphasizes simplicity, functionality, and sustainability, helping you create a drawer that is both visually tidy and highly efficient. By following the step-by-step instructions, you'll learn how to group similar items, designate zones, and use clever DIY dividers—all without spending money on new products. The guide also includes troubleshooting tips and advanced strategies for keeping your drawer organized long-term.
Fast Answer
- Empty the drawer completely, then sort every item into categories like 'keep', 'donate', or 'relocate' to eliminate clutter before reorganizing.
- Use small boxes, trays, or even clean takeout containers as free dividers to create custom compartments that suit your drawer's dimensions and your item types.
Before You Start
- Gather all items currently in the drawer and place them on a flat surface nearby. This helps you see exactly what you have and makes sorting easier.
- Collect clean, empty containers from your recycling bin, such as small cardboard boxes, plastic takeout containers, or empty jar lids. These will serve as dividers and storage bins.
- Have a damp cloth and mild cleaning spray ready to wipe down the inside of the drawer. This ensures a fresh, hygienic start and removes any crumbs or spills.
- Take a piece of paper and a pen to sketch a rough layout of your drawer. This helps you plan where each category will go before you start placing items.
Step-by-Step Instructions
Empty and Clean the Drawer Completely
Start by removing every single item from the drawer and placing them on a clean countertop or table. As you remove each item, glance at it and decide immediately whether it belongs in the drawer or should be relocated elsewhere. Once the drawer is empty, use a damp cloth with a mild cleaner to wipe down all interior surfaces, including corners and grooves. This step is crucial because an unclean surface can transfer odors to your utensils and make the drawer feel less fresh. After cleaning, allow the drawer to air dry completely before proceeding. While waiting, you can start sorting the removed items into rough categories such as 'cooking tools', 'cutlery', 'miscellaneous', and 'discard'. This initial cleanup not only prepares a hygienic space but also gives you a visual inventory of what you own, which is the first step toward effective organization.
Sort Items into Keep, Relocate, or Remove
Now that the drawer is clean and dry, look at the pile of items you removed. Pick up each item one by one and sort it into three categories: 'keep'—items you use regularly and belong in this drawer; 'relocate'—items that are useful but stored in the wrong place, such as batteries or candles; and 'remove'—items that are broken, duplicates, or haven't been used in over a year. Be honest with yourself: if you have five vegetable peelers, keep only the best one and donate the rest. For each item, ask if it has a clear purpose and if you reach for it often. This sorting step is essential because it prevents clutter from building up again. After sorting, place the 'keep' pile on a tray or in a temporary box, and set aside the other piles for relocation or donation.
Measure the Drawer and Plan Zones
Use a ruler or measuring tape to measure the inside dimensions of the empty drawer: length, width, and depth. With these numbers, sketch a simple diagram on paper, noting the exact measurements. Now decide how you want to divide the drawer into zones—common categories include 'cutlery plus cooking tools', 'baking gadgets', and 'miscellaneous'. Think about how you use the drawer: if you frequently cook, place frequently used tools near the front. On your sketch, draw rectangles to represent where each category will sit, leaving a few centimeters between zones to avoid overpacking. This planning step is vital because it ensures that your containers fit perfectly and that you allocate space according to your habits. Without a plan, you might end up with a drawer that is visually organized but functionally inefficient.
Gather Your DIY Container System
Now it's time to transform everyday objects into your custom organization solution. Look for small cardboard boxes (like those from tea or granola bars), plastic takeout containers, jar lids, or even sturdy shoeboxes. Wash and dry plastic containers thoroughly. For cardboard boxes, you can trim them to the desired height using scissors, and cover them with contact paper or gift wrap to make them more durable and attractive. Choose containers that are roughly the right size for the items you plan to store, and ensure they fit within your drawer's dimensions by measuring them. If you have an assortment, that's fine—variety can work well as long as the containers are not too tall to close the drawer. This DIY approach saves money and reduces waste, and it allows you to customize the layout exactly to your drawer's shape.
Arrange Zones with DIY Dividers in Place
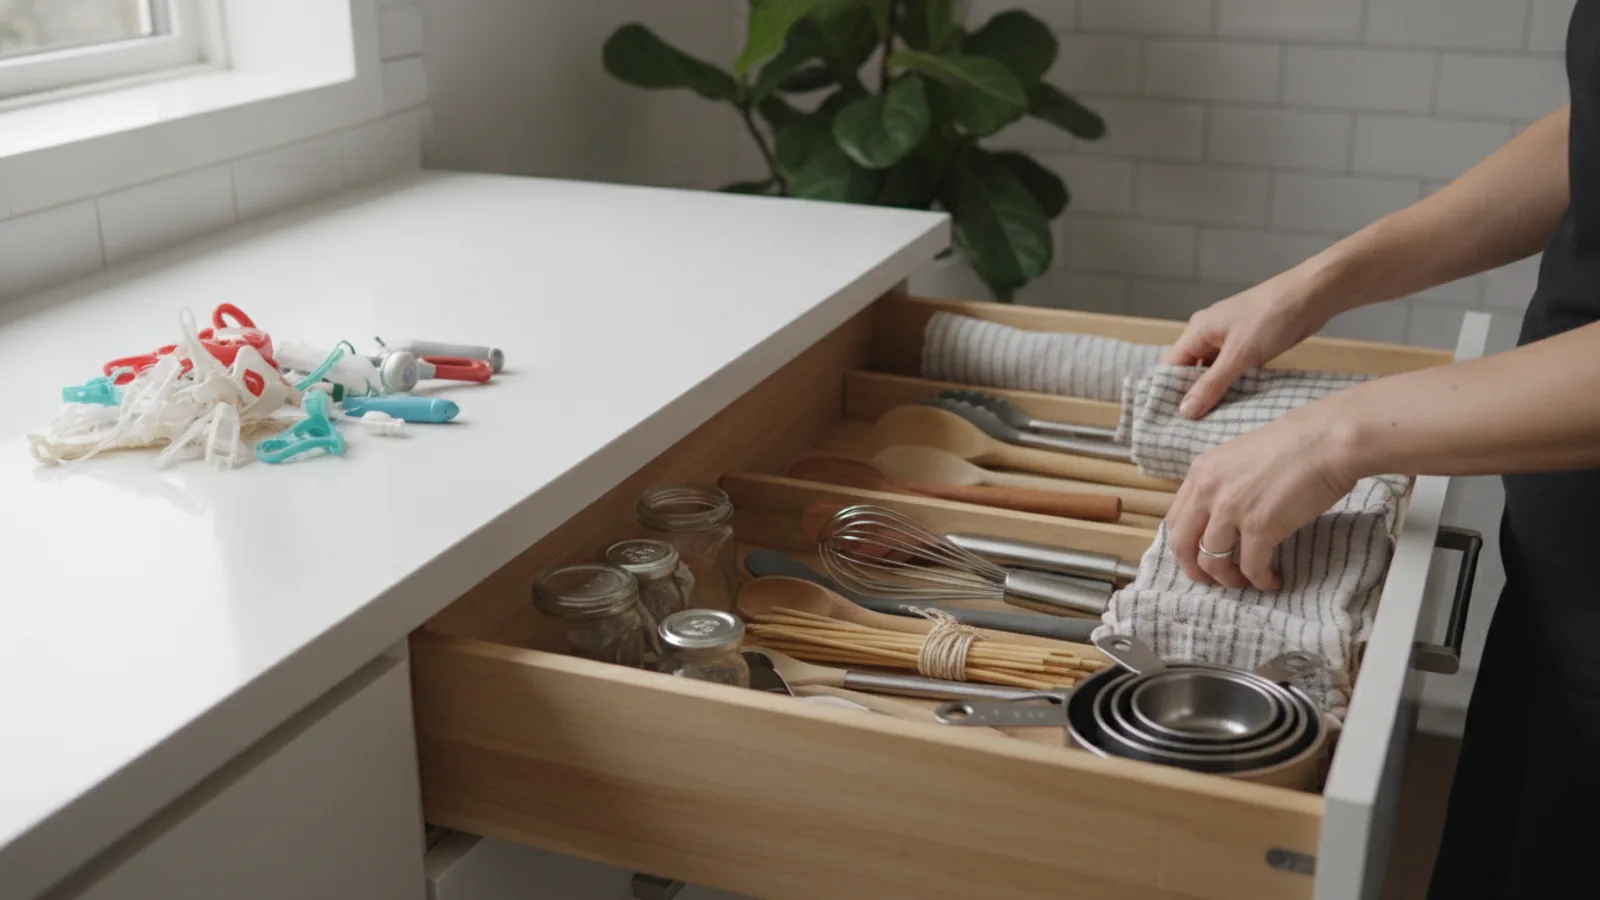
Place your containers into the drawer according to your earlier plan. Start with the largest containers to anchor each zone, then fill them with the corresponding 'keep' items. For example, place a long, shallow container for cutlery at the front, and a deeper box for spatulas and tongs behind it. If you have loose items like measuring spoons that need their own compartments, use smaller containers or cut pieces of cardboard to create custom dividers within a larger container. As you place each item, think about how often you use it: everyday tools should be within easy reach. Once everything is in place, open and close the drawer several times to ensure nothing catches or blocks. This arrangement ensures that you can see at a glance where everything is, making meal prep faster and more enjoyable.
Label Containers and Maintain the System
To help you and your household remember the designated spots, create labels for each container or divider. Use a permanent marker on washi tape, or cut out small paper tags and attach them with a piece of tape. Labeling is especially useful for small items or if multiple people use the drawer. After labeling, step back and assess the entire drawer: is everything within its designated zone? Are there any leftover items that don't have a home? If so, either assign them a spot or relocate them. To maintain this system, make it a habit to return items to their labeled place after each use. Once a month, do a quick sweep: remove anything that doesn't belong, and re-arrange if needed. This final step solidifies your organization and ensures the drawer stays tidy for the long term.
Quick Reference
| Situation | Action | Why it helps |
|---|---|---|
| A guest or family member puts items back in the wrong place. | Clearly label each container with text or simple icons, and kindly explain your system to everyone who uses it. | Labels remove guesswork and encourage consistency, which keeps the drawer organized without constant oversight. |
| The drawer starts to feel cluttered again within a few weeks. | Take everything out, re-evaluate each item's usefulness, and remove anything that has accumulated or is rarely used. | Regular reassessment prevents long-term clutter buildup and ensures the drawer remains functional for your current needs. |
| You need to find a specific utensil quickly while cooking. | Group utensils by function and store them upright in a single container one category at a time, with the most-used items near the front. | A logical layout with clear zones speeds up retrieval, reduces stress, and minimizes time wasted rummaging. |
Common Issues
- Cardboard dividers lose shape or get stained with food.: Reinforce dividers by coating them with a layer of clear nail polish or mod podge, and clean them regularly with a dry brush. Alternatively, replace them with plastic containers that are easier to wipe.
- Drawer becomes overcrowded because there are too many items.: Edit ruthlessly: remove duplicate or rarely used items and donate them. Also, consider using vertical stacking with small risers to better utilize vertical space, and commit to a one-in, one-out rule.
- Containers shift and slide when opening and closing the drawer.: Place a non-slip drawer liner or a sheet of shelf grip at the bottom of the drawer before arranging your containers. This provides friction and keeps your layout stable.
Advanced Tips
- Install a thin cork board on the inside of the drawer lid (if it's a pull-out) to pin small notes, recipes, or a grocery list—so it's out of sight but handy.
- Create a custom 'junk drawer' zone for batteries, rubber bands, and stamps, but limit the zone to one small container to prevent it from growing uncontrolled.
- To maximize space, store tall items like ladles and tongs flat in a wide, shallow container, and use a tiered shelf made from stacked, separated boxes for small gadgets.
Final Checklist
- The drawer is completely empty and cleaned before you start organizing.
- Every item in the drawer has been sorted and assigned a specific zone or container.
- All containers fit properly, and the drawer opens and closes smoothly without obstruction.
- You have labeled each major container or zone to help maintain the order.
FAQ
What are the best free items to use as drawer dividers?
Common household items work wonders: small cardboard boxes (like those from tea bags), plastic takeout containers with lids removed, empty jar lids, egg cartons for small items, and even folded paper or cardboard to create custom compartments. Just ensure they are clean and dry before use.
How can I keep the drawer organized without spending money?
The key is to maintain a habit of returning items to their designated spots after each use. Additionally, periodically review the drawer contents once a month and remove anything that doesn't belong. Using labeled containers and grouping similar items also helps keep order.
What if my drawer is too small to hold all my kitchen tools?
If your drawer is limited, consider relocating less frequently used tools to another drawer or a wall-mounted rack. Prioritize keeping only the tools you use at least once a week in the drawer. Alternatively, use smaller containers and stack items vertically to increase capacity.