Common Mistakes When Setting Up A Useful Kitchen Drawer Reset Without Buying Unnecessary Organisers
A practical step-by-step guide to common mistakes when setting up a useful kitchen drawer reset without buying unnecessary organisers, including preparation, instructions, common issues, tips, and next steps.
Common Mistakes When Setting Up A Useful Kitchen Drawer Reset Without Buying Unnecessary Organisers
Many kitchen drawers become chaotic not because we lack storage products, but because we add organizers without first understanding how we actually use the drawer. A useful drawer reset focuses on clearing out unused items, sorting by frequency of use, and creating simple zones with items you already own. This guide walks you through a six-step process to transform a jumbled drawer into a calm, functional space without buying a single new organizer. You will learn how to assess your drawer, clear it completely, group items by purpose, choose a layout based on your daily routines, and return items in a way that keeps them accessible. You will also find quick references for common problems, advanced tips for maintaining the system, and a final checklist to ensure you do not miss anything. The goal is not perfection but a drawer that works for you, using only what you already have and a little thoughtful arrangement.
Fast Answer
- Start by emptying the entire drawer and wiping it down, then sort every item into three piles: keep, move elsewhere, and discard or recycle. Only put back the items you use at least once a week, and group them into clear zones like utensils, tools, or takeout packets.
- Use small boxes, trays, or even sturdy mugs you already own to create separation, and place the most frequently used items at the front or on the side where you naturally reach. Finish by labeling nothing—just remember the zones, and for the first two weeks, return every item to its designated spot after each use.
Before You Start
- Set aside at least thirty minutes when you are not rushed, so you can think clearly about what you actually need in the drawer.
- Gather a few clean containers from your home: shallow boxes, small bowls, jars, or even cutlery tray dividers if you already have them.
- Have a trash bag or recycling bin nearby to immediately toss broken items, expired packets, and anything you have not used in over a year.
- Keep a damp cloth or disinfectant wipe on hand to clean the drawer interior before you put anything back, because a clean base helps the new arrangement feel fresh.
Step-by-Step Instructions
Empty and Clean the Drawer Completely
Pull the drawer all the way out and place everything from inside onto a clear counter or table. Do not try to sort while the items are still in the drawer because that keeps your thinking cramped and you will likely miss odd items stuck in corners. Wipe the entire interior with a damp cloth and dry it thoroughly. Check for crumbs, sticky patches, or any residue that could attract pests. While the drawer dries, look at each item you just removed and mentally note how often you truly use it. This initial clear-out gives you a blank canvas and a true inventory. The specific action is to remove every single object, even if it seems small, because leaving a few things in place creates a bias to keep them. The check is to run your hand along the bottom and sides to feel for any leftover debris. This matters because a clean, empty drawer lets you design zones without old clutter dictating the layout, and it prevents food particles from causing odors or attracting insects later.
Sort Every Item into Keep, Move, or Discard
Now that everything is on the counter, sort each item into one of three piles: keep in this drawer, move to another location, or discard/recycle. For the keep pile, only include items you use at least once a week—for example, your daily spatula, measuring spoons, or coffee scoops. For the move pile, think of items that logically belong elsewhere, such as extra batteries (utility drawer), takeout menus (office), or rarely used garlic press (upper cabinet). For discard, toss broken items, expired condiment packets, and odd objects you have not touched in over a year. Make a decision for each piece without hesitation; if you feel uncertain, put it in the 'move' pile for now and decide later. The specific action is to physically place each item into a labeled pile using sticky notes or just clear zones on the counter. The check is to look at your keep pile and ask, 'Would I miss this if it were gone?' If the answer is no, it goes to discard. This matters because a drawer that holds only frequently used items instantly becomes more functional, and you avoid wasting space on duplicates or forgotten tools.
Group the Keep Items by Function
After you have your final keep pile, group those items into small categories that make sense together. For example, put all cooking utensils like spatulas, spoons, and tongs in one group; all measuring tools like cups and spoons in another; and all gadgets like peelers, can openers, and graters in a third. If you have a lot of small items like rubber bands, bread clips, or twist ties, make a separate group for those. Do not group by size or color—group by what you use together when you cook. The specific action is to place each item into a cluster on the counter, and then write the name of each group on a sticky note, such as 'stirring', 'measuring', or 'prep tools'. The check is to see if every item in a group serves a similar purpose or gets used during the same task. This matters because grouping by function makes it easier to assign each group to a zone in the drawer, and when you need a specific tool, you will know exactly where to look rather than digging through a jumble.
Choose a Layout Using Items You Already Own
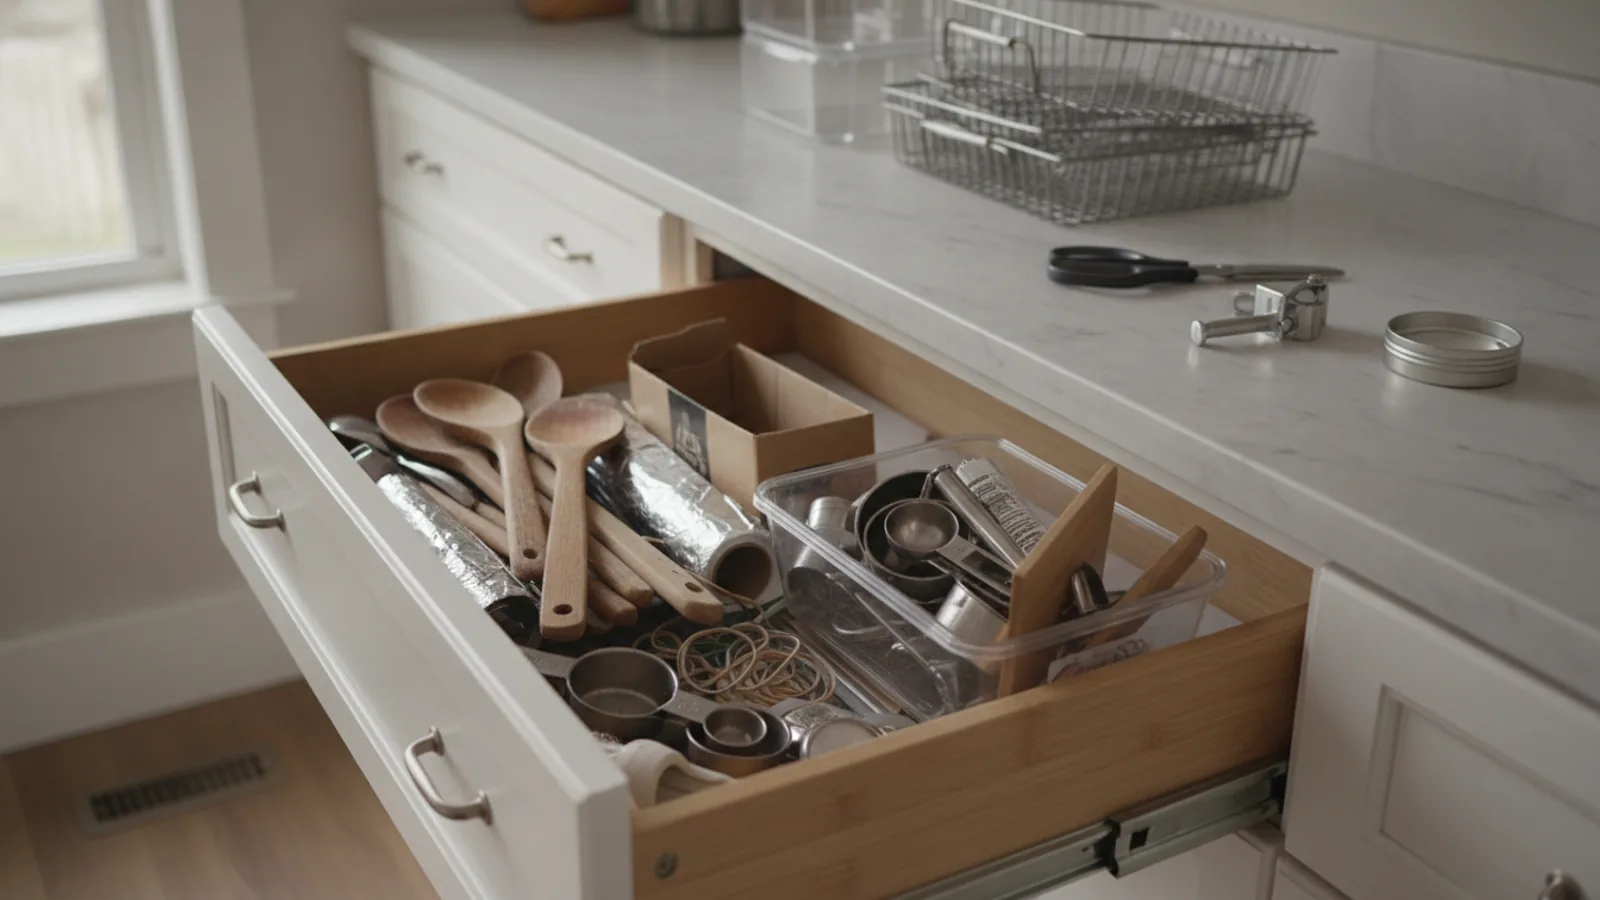
Look at the groups you created and assign each one to a corner or section of the drawer. Use small containers you already have—like a shallow baking dish, a set of ramekins, a small cardboard box cut down, or even a sturdy mug—to hold each group separately. Place the group you use most often, such as stirring utensils or everyday measuring spoons, at the front of the drawer, closest to your hand when you open it. Put less frequently used groups toward the back. For example, put your daily spatula and spoon in a short glass jar at the front left, and put the peeler and grater in a nested container at the back right. The specific action is to physically arrange the containers inside the drawer, adjusting their positions until you can reach the most-used items without moving anything else. The check is to simulate opening the drawer and reaching for each item you use daily; it should take one smooth motion. This matters because a layout that mirrors your natural reach pattern saves time and frustration, and using existing containers means you spend nothing.
Return the Keep Items to Their New Zones
Now place each group of items into its designated container, but before you drop them in, consider the vertical space. Stand longer items like tongs or spatulas upright if the drawer height allows, and lay flatter items like measuring cups on their side. Do not stack items on top of each other if you can avoid it, because that makes you dig. Put the most-used item in each container at the front of that container. For example, in the cooking utensil jar, put the spatula at the front, the spoon next, and the whisk at the back. As you place each item, say out loud or think 'this is my zone for stirring' to reinforce the mental map. The specific action is to place every single keep item into its designated spot, and then shut the drawer and open it again to see if the arrangement stays tidy. The check is to ensure each container is not overstuffed; if it is, move some items to a less-full container or to another drawer. This matters because a drawer that is too full will spill when opened, and you will quickly abandon the system.
Test the System and Adjust for One Week
Use the drawer normally for one full week, but pay attention to any moment you find yourself searching for an item or placing something back in the wrong spot. At the end of each day, quickly glance at the drawer to see if the zones still make sense. If you notice that you use a particular item more than you thought, move it to a more accessible spot. If a container is always messy, either it is too small or you have too many items in that group. On day three, take everything out again if needed and rearrange based on your real habits. The specific action is to keep a small notepad or a note on your phone to jot down any friction, and then on day seven make final adjustments. The check is to open the drawer and see that each container is still roughly in order, and that you can name each zone without thinking. This matters because a drawer reset is not a one-time event but a short trial period that helps you discover the best arrangement for your specific routines.
Quick Reference
| Situation | Action | Why it helps |
|---|---|---|
| The drawer becomes a jumbled mess again within a few days of your reset | Take everything out, get rid of at least five items you have not used since the reset, and then put back only the items you used in the last week, grouping them in the same zones but with tighter boundaries. | A drawer quickly reverts to chaos when it holds too many low-use items, so shrinking the keep pile makes the system easier to maintain and forces regular decisions about what really earns a place. |
| You cannot find a specific small item like a bottle opener or a pair of kitchen scissors | Create a dedicated 'small tools' zone using a shallow bowl or a small rectangular container, and always put those tiny items back in that exact bowl immediately after each use. | Small items get lost among larger ones because they have no natural boundary, so a fixed small container gives them a permanent home and eliminates the need to search through the whole drawer. |
| You are about to buy a new organizer because you think your drawer is too small | First, measure the drawer interior and list every item you actually need to store, then see if you can fit them by standing long items upright or using a nesting container you already own. | Most drawers are not too small but are poorly arranged, and measuring forces you to think in three dimensions, often revealing that a simple rethink solves the problem without spending money. |
Common Issues
- Items slide around inside the drawer every time you open and close it: Place a roll of non-slip shelf liner or a thin rubber mat at the bottom of the drawer, then put your containers on top of it. The liner creates friction that keeps the containers in place, so you do not need to buy special grips.
- You keep finding crumbs or residue in the drawer after a few weeks: Once a month, pull out every container and wipe the drawer with a damp cloth, then dry it. Also check each container for crumbs and shake them out over the bin. Doing this regularly prevents pests and keeps the drawer pleasant to use.
- The drawer has too many items even after sorting, and zones are overflowing: Choose the five items you use most in each zone and move the rest to a 'backup' container in a cabinet or second drawer. If you do not use those backup items within a month, donate or discard them.
Advanced Tips
- Use vertical space by standing baking spatulas, tongs, and ladles upright in a sturdy jar or container, which leaves more surface area for flat items.
- Install a simple tension rod inside the drawer (if you have one) to create a partition, so you can have two layers without buying a custom organizer.
- Take a photo of your final drawer arrangement and stick it inside the cabinet door above the drawer, so you remember the exact zones even on busy days.
Final Checklist
- The drawer is completely clean and dry before any item is returned.
- Every item in the drawer has been used in the last month, or you have a specific plan to use it within the next week.
- Each zone holds at least one container, and no container is overstuffed to the point of spilling when the drawer opens.
- You can close your eyes and point to where each item lives, confirming that the system is intuitive for daily use.
FAQ
How often should I do a drawer reset?
You should do a full reset whenever you notice that the drawer becomes cluttered to the point where you cannot find items easily. For most households, that is every three to six months. In between, do a weekly five-minute tidy to return items to their zones. If you cook frequently and add new tools, you might need a mini reset every two months. The key is to not let the drawer get to a state where you avoid opening it.
What if I have special gadgets that I only use once a year, like a turkey baster?
If you use it less than once a month, it should not live in the everyday drawer. Put it in a separate storage bin in a less accessible cabinet or shelf, but label the bin clearly. For example, write 'Thanksgiving tools' on a piece of masking tape. That way, you keep the drawer functional for daily use, and you still know where to find the special gadget when you need it.
Can I use cardboard boxes as containers in the drawer?
Yes, you can use clean, sturdy cardboard boxes cut down to size. They work well because they are lightweight and you can trim them to fit exactly. However, they can absorb moisture and wear out over time. If you use cardboard, avoid placing wet items directly in them, and expect to replace them every few months. Alternatively, use plastic food containers or glass jars that you already have, which are more durable.