How To Compare Options For A Useful Kitchen Drawer Reset Without Buying Unnecessary Organisers
A practical step-by-step guide to how to compare options for a useful kitchen drawer reset without buying unnecessary organisers, including preparation, instructions, common issues, tips, and next steps.
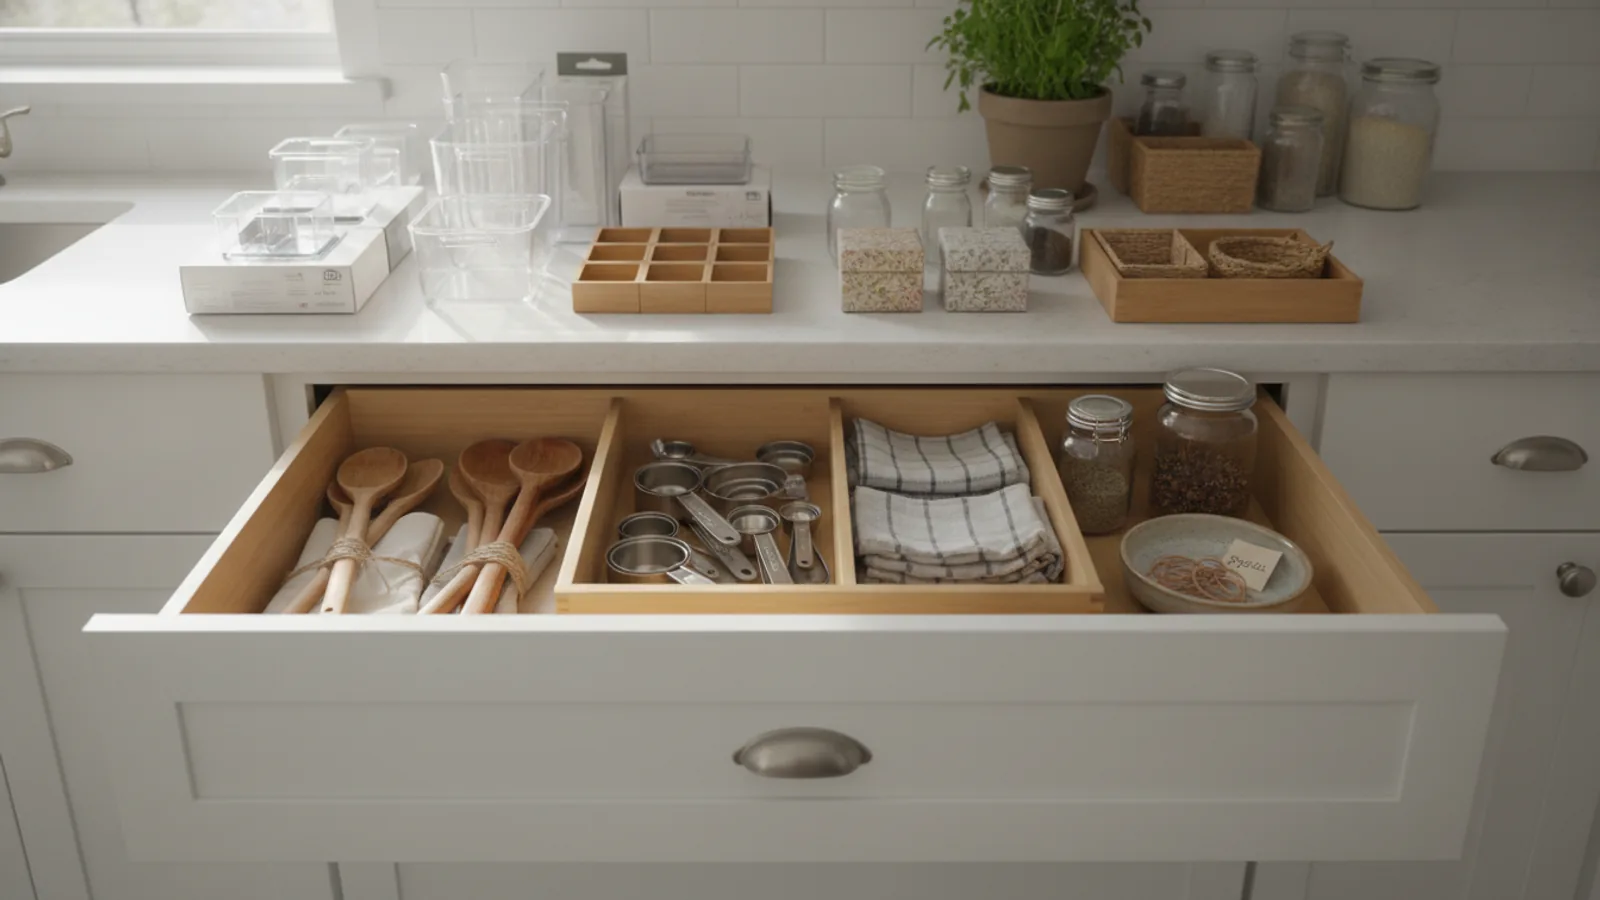
How To Compare Options For A Useful Kitchen Drawer Reset Without Buying Unnecessary Organisers
This guide helps you reset a useful kitchen drawer without buying unnecessary organisers. You will learn to sort items by actual use, measure your drawer space, and choose simple, low-cost solutions that already exist in your home. The focus is on function, not fancy containers, so you can keep what you need within reach and skip what you do not. You will also compare options by thinking about daily habits, maintenance, and flexibility. By the end, you will have a calm, tidy drawer that works for your cooking style, and you will avoid spending money on boxes that do not fit or serve a clear purpose. The steps are concrete and practical, with checks to keep you on track.
Fast Answer
- Start by emptying the drawer and grouping items into keep, move, and discard piles, then measure the drawer's interior dimensions so you know exactly what space you have to work with.
- Use flat, non-slip mats and small trays or jars you already own to create zones for frequently used tools, and avoid buying any new container until you have lived with the layout for a week.
Before You Start
- Clear the counter near your workspace so you have a flat, clean area to sort every item from the drawer before you decide what to keep.
- Take out all drawer contents and wipe the inside with a damp cloth, then dry it fully so the new arrangement starts on a clean surface.
- Measure the drawer's interior length, width, and depth with a tape measure, and note any fixed dividers or obstructions that will affect how you arrange items.
- Collect small containers you already own, such as yogurt cups, takeout sauce containers, shoebox lids, or clean tin cans, to use as potential dividers without buying new things.
Step-by-Step Instructions
Empty the drawer and lay everything out
Pull the drawer fully out of the cabinet and set it on a sturdy table or the floor, then remove every single item from the drawer, including loose crumbs and stray twist ties. Place the items on the counter in a single layer so you can see exactly what you have, grouping similar things together such as spatulas, measuring spoons, or garlic press. This action gives you a complete inventory, which is the foundation for every other decision you will make. As you lay items down, think about the last time you used each one; if you cannot remember using it in the past year, put it aside in a separate pile. The practical check here is to count how many items you actually have and how many are duplicates, because most drawers contain at least three or four items that serve the same purpose. Why does this check matter? Because you cannot efficiently compare organizational options when you do not know what you are working with, and seeing everything at once prevents you from buying a container for something you will later discard.
Sort every item into keep, move, or discard
Create three distinct piles on the counter: one for items you use at least weekly and want to keep in this drawer, one for items that belong elsewhere in your kitchen, and one for items that are broken, worn out, or truly unused. Be strict about the weekly-use rule, because if you have not touched a vegetable peeler in two years, it is not earning its space. For the move pile, think about whether the item logically belongs near the stove, near the sink, or in a pantry, and commit to moving it during this reset. For the discard pile, decide immediately whether to recycle, give away, or throw away, and put those items in a bag so they leave the area right now. The practical check here is to ask yourself, "If I needed this tool right now, would I know exactly where to find it?" If the answer is no, then the item is not serving you. Why does this check matter? Because a drawer that holds items you never use takes up prime space and hides the tools you actually reach for, making every cooking task harder than it should be.
Measure and map the drawer interior
With the drawer empty and cleaned, take accurate measurements of the interior length, width, and depth using a tape measure, writing them down on a piece of paper. Include the lowest point of any hinges or slides, and note if the drawer has a fixed divider or an oddly shaped corner. Next, draw a simple rectangle to scale on paper, marking the dimensions and any obstructions, and then sketch where you might place zones like a tool zone, a measuring zone, and a utility zone. This map will be your guide as you test layouts, and it prevents you from buying any container that visually appears to fit but actually hits a hinge or is too tall. The practical check here is to verify that the map matches the physical drawer by holding the paper up to the empty drawer and confirming the numbers look right. Why does this check matter? Because many people buy organizers based on guessing the size, and then the container either jams the drawer or wastes space, so you want to design with real measurements to avoid that frustration.
Group items by how you use them
Take the items from your keep pile and group them by cooking tasks: for example, group all stirring and flipping tools, all measuring spoons and cups, all tongs and lifters, and all sharp knives or peelers. Think about the order of actions in a typical meal prep, and place the groups so that the most often used tools are near the front or in the middle, while less frequent items go to the back. This is a mental model of your workflow, not just a random arrangement. For instance, you might place the spatula and turner together because you use them every time you cook at the stove, while the meat thermometer stays at the back because you use it only for roasts. The practical check here is to physically hold each group in your hands as if you were cooking, and see if the group feels logical; if you reach for a slotted spoon with a frying pan, it should be next to your regular spoon. Why does this check matter? Because the best organizer is one that matches your actual behavior, and grouping by use makes it effortless to find what you need without thinking.
Place free containers and dividers
Using the containers you collected in your prep, start arranging them inside the drawer according to the map you drew, but do not commit to a final layout yet. Place small jars or cups for things like measuring spoons and bag clips, and use shallow trays or shoebox lids to hold larger groups like spatulas and tongs. For dividers, you can use cardboard cut to size, or even folded dish towels to create soft separations that keep items from sliding. Position the containers so that they fit snugly but still allow the drawer to close without any bulge. The practical check here is to test the placement by opening and closing the drawer several times, and also by reaching into each zone as if you were grabbing that tool for a recipe. Why does this check matter? Because if a container is too tall or positioned under a hinge, the drawer will not close properly, and you will end up frustrated and likely buy a different organizer later. Testing now saves you from that cycle.
Live with the layout for a week, then adjust
Use the drawer as you normally do for seven full days, and after each cooking session, take a moment to see if any item feels out of place or if you often reach past something to get another. Keep a small pad or a note on your phone to jot down any friction points, such as "the garlic press always falls out" or "the measuring cups are too deep." After the week, review your notes and make small adjustments: move a container to a different corner, swap two groups, or remove an item you never actually reached for. The practical check here is to ask yourself at the end of the week if you can find any tool in under three seconds without digging; if not, adjust the layout or add a tray that is already in your home. Why does this check matter? Because a theoretical layout often fails in real life, and a one-week trial lets you refine your setup based on actual behavior rather than assumptions, so you avoid buying unnecessary organizers that solve a problem you do not have.
Quick Reference
| Situation | Action | Why it helps |
|---|---|---|
| You are tempted to buy a divided cutlery tray for your drawer but you are not sure it will fit. | Measure your drawer's interior length, width, and depth, then compare those numbers to the tray's dimensions listed on the packaging or online, and also check that the tray is no taller than the drawer's depth. If the tray does not match, skip buying it and use small boxes or cups you already own instead. | A tray that is slightly too wide or too tall will jam the drawer or force you to store it awkwardly, wasting money and creating frustration. |
| You find duplicate tools like three spatulas in your drawer during the sorting step. | Keep only the one you use most often and place the duplicates in your move or discard pile, then decide immediately if they belong in another drawer or should be given away. | Duplicates take up valuable space and make it harder to see the tool you actually need, so reducing them clears physical and mental clutter. |
| After a week of using your new layout, you notice you repeatedly reach for a tool that is in the back, like a whisk. | Move that whisk to the front of the drawer or to a zone near where you usually mix ingredients, and put a less-used item, such as a meat tenderizer, in its old place. | Placing frequently used items at the front reduces the chance of knocking over other tools and makes your cooking flow smoother, so you follow your real habits. |
Common Issues
- Items slide around and get mixed together even after you arrange them.: Use a non-slip cabinet liner cut to fit the bottom of the drawer, or place a folded rubber shelf liner under each group of items; if you do not have a liner, use a damp paper towel that is allowed to dry to create friction, or put small rubber bands around the bases of a few containers.
- You have a deep drawer but your containers are too short, so items disappear at the back.: Use taller jars or boxes that reach at least two-thirds of the drawer's depth, or stack shallow trays to create two levels, and place a sticky note on the front edge to remind you what is in the back, so you do not buy a full organizer set.
- You cannot close the drawer because something sticks up past the top edge.: Remove the offending item and place it in a different drawer or on a shelf, then measure the drawer's depth again and adjust your container height; alternatively, store it vertically in a deep container that lies flat, so the drawer closes smoothly without forcing.
Advanced Tips
- Consider using tension rods inside deep drawers to create vertical dividers for baking sheets and cutting boards, which costs nothing if you already have rods from your closet.
- Assign each drawer zone a colour by using small pieces of coloured masking tape on the bottom, so you and your family know exactly where to return each tool without reading labels.
- Pegboard or corkboard that you already have in your home can be cut to fit a drawer's base, and you can insert short screws or hooks into it to hold small items like measuring spoons off the bottom.
Final Checklist
- Confirmed every item in the drawer is something you use at least weekly and has a clear place in your cooking routine.
- Measured the drawer's interior length, width, and depth, and used those numbers to decide whether any existing container will work.
- Tested the new layout for a full week and made at least one adjustment based on your actual reach patterns.
- Made sure the drawer closes smoothly and every tool is visible at a glance without digging or moving other items.
FAQ
What should I do if I have a lot of items but only a small drawer?
If your drawer is small but you have many tools, focus on keeping only the items you use at least twice a month and move the rest to other storage areas like a wall hook or a shelf. Use tall, narrow containers that you already own, such as mason jars or tall drinking glasses, to store long-handled tools vertically, which saves space. For small items like measuring spoons, use a small cup or a repurposed creamer bottle. Avoid buying any new organizer until you have simplified your collection to the bare essentials, because a tiny drawer cannot hold everything no matter how clever the container is.
How can I prevent my drawer from becoming messy again after a few weeks?
Prevent future mess by assigning a specific zone for each category and making sure every item has a home in a container or a marked area. Once a week, take one minute to scan the drawer and return any stray items to their zones, and every month, do a quick purge of any new items that have somehow appeared. Also, when you buy a new kitchen tool, commit to removing one old tool from the drawer to keep the count stable. The key is to maintain the system, not just set it up, and to avoid impulse purchases that add clutter.
Is it ever okay to buy an organizer?
Yes, it is okay to buy an organizer, but only after you have sorted, measured, and tested your existing containers for at least a week. If you find a specific gap that no household item can fill, such as needing a shallow tray that is exactly 11 inches long, then buying a simple, inexpensive tray could be worthwhile. Choose a container that is plain, sturdy, and exactly fits your measured space, and avoid multi-piece sets that promise everything because they often include pieces you will not use. The key is to buy only to solve a problem you have confirmed, not to create a pretty appearance.