How To Plan A Useful Kitchen Drawer Reset Without Buying Unnecessary Organisers
A practical step-by-step guide to how to plan a useful kitchen drawer reset without buying unnecessary organisers, including preparation, instructions, common issues, tips, and next steps.
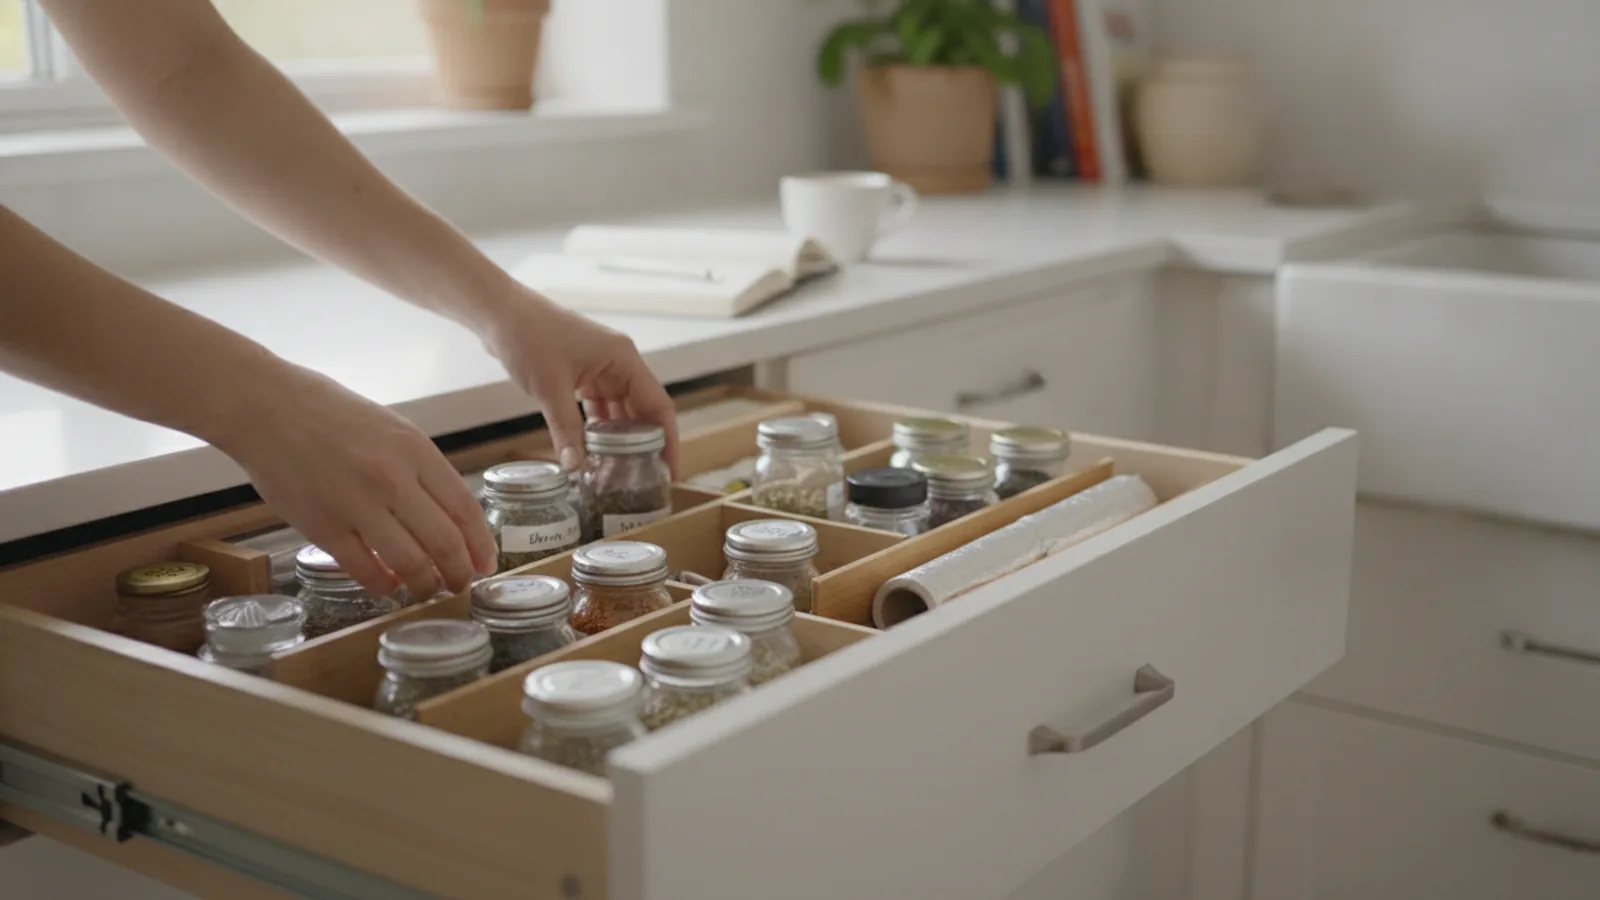
How To Plan A Useful Kitchen Drawer Reset Without Buying Unnecessary Organisers
This guide provides a calm, systematic method for resetting a kitchen drawer to improve function without buying new organizers. You will learn to assess what you actually use, group items logically, and repurpose simple household items like jars and boxes. The focus is on mindful decluttering and practical storage solutions that respect your current habits. By following these steps, you will create a drawer that is easy to maintain, reduces daily frustration, and saves money by using what you already own. This approach emphasizes intentionality and sustainability, helping you build a lasting organizational system from the inside out.
Fast Answer
- Start by emptying the drawer completely and sorting every item into three piles: keep, relocate, or toss. Be honest about what you reach for weekly; that is your keeper group.
- Measure the drawer's interior dimensions with a tape measure, then look through your home for small containers that fit within those measurements. Use these to create natural zones for categories like utensils, tools, or baking supplies.
Before You Start
- Empty the drawer completely and wipe it down with a damp cloth, allowing it to dry fully. This gives you a clean slate and a clear view of the actual space.
- Gather a few household items that can serve as dividers or containers: sturdy cardboard boxes, clean glass jars, small plastic food containers with lids, or even ceramic ramekins.
- Take a photo of the empty drawer from above, and then print or sketch the dimensions on paper. This will help you plan the layout virtually before moving items back in.
- Set a timer for 30 minutes to keep the process focused and prevent overwhelm. Having a clear time limit helps you make quick, decisive choices.
Step-by-Step Instructions
Empty and Wipe Down the Drawer
Take everything out of the drawer and place it on a clear counter or table. Dust and crumbs settle in the corners, so wipe the drawer interior with a slightly damp cloth and a mild cleaner if needed. Let it dry completely while you sort. This step gives you a clean, empty canvas and forces you to see every item you own, not just the top layer. As you touch each item, notice how it feels—if you hesitate or feel reluctant, that is a clue that it may not deserve a permanent spot. Wiping down also helps you spot any sticky residue or damage that you may want to address before placing items back. A clean drawer makes future maintenance easier because you will be less likely to tolerate clutter. Take a couple of minutes to appreciate the empty space; it will motivate you to keep it that way.
Sort Every Item into Three Clear Piles
With the drawer empty, face each item one by one and decide: keep, relocate, or remove. The keep pile is for things you use at least once a week. Relocate items belong elsewhere in your home—like batteries in a utility drawer or scissors in a desk. Remove means throw away, recycle, or donate—anything broken, expired, or never used. Work quickly and avoid analyzing each piece for too long. A useful rule: if you cannot think of the last time you used it and you do not have an immediate plan to use it, put it in the remove pile. Use separate boxes or bags for each pile so you do not mix them. This step is the core of the reset because it forces you to honestly evaluate your habits. Many people discover duplicates and obsolete gadgets they forgot they owned. By reducing the number of items, you make the next steps far easier and more effective. Be ruthless but calm—it is just a drawer, and you can always adjust later. When you finish, each pile should contain items of roughly similar size and purpose.
Measure the Drawer and Plan Zones on Paper
Use a tape measure to record the interior length, width, and depth of the drawer in centimeters or inches. Write these numbers down. Then, on a piece of paper, sketch a simple rectangle that matches the proportions. Divide this sketch into logical zones based on what you kept. For example, a top-left zone for everyday utensils, a center zone for larger tools, and a right zone for baking or cooking gadgets. Consider how you naturally reach into the drawer: place the most frequently used items near the front or where your hand lands first. Plan to use small containers to separate categories and to create dividers. If you have an item that is too large for any zone, either find a better home for it or adjust your layout. This planning step prevents you from randomly placing items and then finding it chaotic later. You can visualize the final organization before moving anything, which saves time and reduces frustration. Keep your sketch handy as you proceed to the next step.
Identify Repurposed Containers for Each Zone
Look through your home for containers that fit your planned zones. Good candidates are small cardboard boxes (like tea boxes), clean plastic takeout containers, glass jars, mason jars, or even sturdy paper cups cut down to size. Try to find containers that are roughly the same height to create a neat appearance. For example, use a wooden cutlery tray from an old drawer dividers set, but do not spend money on new. Match each container to a zone you sketched: use a shallow dish for rubber bands, a tall jar for wooden spoons, and a small box for measuring spoons. Test that the container actually fits in the drawer with enough room to slide open. This step taps into your existing resources and avoids waste. If you find you do not have a suitable container for a specific zone, consider whether you can group those items with another zone or place them in a different drawer. Reuse and creativity are the core of this method, so do not feel pressured to buy anything.
Place Containers and Items Back with Intention
Start by placing the largest containers first to define the layout, then fill them with items from your keep pile. Group similar items together: all spatulas, all measuring cups, all tea bags. Inside each container, arrange items logically—for example, place frequently used tools on top or at the front. As you place, refer frequently to your plan and adjust if needed. The goal is to create visual order and easy access. Avoid overcrowding; if a container becomes too full, either remove some items or choose a larger container. Use the empty space efficiently but do not cram. After placing everything, open and close the drawer several times to ensure containers do not shift or block the track. Make small changes if you notice any friction. This is a physical test of your plan, and it often requires minor tweaks to get everything just right. Once satisfied, step back and admire your work—you have created a functional drawer with items you already own.
Label and Test the New System for a Week
Take small sticky notes or a piece of masking tape and write a label for each zone or container (e.g., 'spatulas', 'measuring', 'tea'). Attach the labels temporarily to the containers or to the drawer edge. This helps you and others remember where things belong. Use the drawer normally for one week. Notice what works and what does not. Pay attention to which items you reach for and whether they are easy to find. If you find yourself searching for something or cramped for space, consider adjusting the layout or relocating an item. After a week, make any necessary changes. Then, remove the labels if they bother you, or keep them if they help. This trial period is crucial because your planning may not perfectly match your actual daily use. Testing ensures that the final system is sustainable, not just pretty. Small adjustments during this week will save you from frustration later. At the end of the week, you will have a drawer that genuinely serves you.
Quick Reference
| Situation | Action | Why it helps |
|---|---|---|
| You open the drawer and see a jumbled mix of tools, pens, and rubber bands. | Remove everything, sort into three piles, then return only the items you use weekly, using small containers to group categories. | Grouping by category and frequency reduces visual clutter and makes it easier to find what you need at a glance. |
| You often reach for the same measuring spoons but they are buried under a pile of other gadgets. | Place frequently used items near the front of the drawer, either in a shallow container or in a designated prime spot. | Placing everyday items at the front reduces digging and saves time, making the drawer work with your habits. |
| You are tempted to buy a divided cutlery tray from a store. | First measure your drawer and then try repurposing a cardboard box, a baking tin, or an existing divider from another drawer. | Using what you already have saves money and ensures the fit is exact, since custom trays rarely match your drawer dimensions perfectly. |
Common Issues
- Items keep sliding around when you open and close the drawer.: Place a non-slip liner or a piece of foam shelf liner at the bottom of the drawer. This provides grip and keeps containers in place. If you do not have liner, use a few strips of double-sided tape under each container.
- The drawer is still cluttered even after sorting.: Re-evaluate your keep pile and ask if each item earns its spot. If you have ten spatulas but only use two, consider donating the extras. Also, check if some items actually belong in a different drawer or room—relocating them reduces clutter.
- You cannot find a container that fits a specific zone.: Look beyond traditional containers: use a clean ice cube tray for small items, a muffin tin for utensils, or a sturdy cardboard box cut to size and wrapped in paper. If necessary, store tall items in a glass jar with a handle for easy lifting.
Advanced Tips
- Use the 'one-touch rule': after organizing, if you pick up an item and have to think about where it goes, change the layout so that every item has a clear 'home' and is returned immediately.
- Consider a shallow drawer for everyday items and a deeper drawer for bulk storage; if you have multiple drawers, assign each a broad purpose (e.g., cooking tools, baking gadgets, miscellaneous).
- Periodically refresh your drawer: every few months, spend five minutes to remove any items that have migrated into the drawer and return them to their proper places.
Final Checklist
- I have removed all items and wiped the drawer clean.
- I sorted every item into keep, relocate, or remove piles.
- I measured the drawer and planned zones on paper.
- I repurposed containers from around the house and placed items back logically, testing the function for a week.
FAQ
I have very little counter space to sort objects. What can I do?
If you lack counter space, spread newspapers or a large towel on your kitchen floor and sort there. Alternatively, use a clean garbage bag for items to toss and a cardboard box for items to relocate. Work in small batches: take out ten items, decide their fate, and set the keep ones aside before taking out more.
How do I decide between keeping or donating a specific item?
Ask yourself: Have I used this in the last year? Do I have a specific need for it in the next month? If the answer is no to both, it is likely safe to donate. Also, consider duplicates—if you have three similar tools and use only one, keep the one you like best and donate the others.
What if my drawer is too deep and items get lost in the back?
Use a vertical divider or place a box at the back that lifts items to the front. For example, set a sturdy shoebox at the back to create a raised shelf, or use a cutlery tray with a compartment that fits the depth. Alternatively, store rarely used items in the back and frequently used items near the front.